If your Zebra Android device is having connection issues with your server, you will need to download the log files so that your issue can be analyzed. The document below will walk you through the step-by-step process of obtaining these log files: RxLogger Files first and Fusion Files second.
RxLogger Files
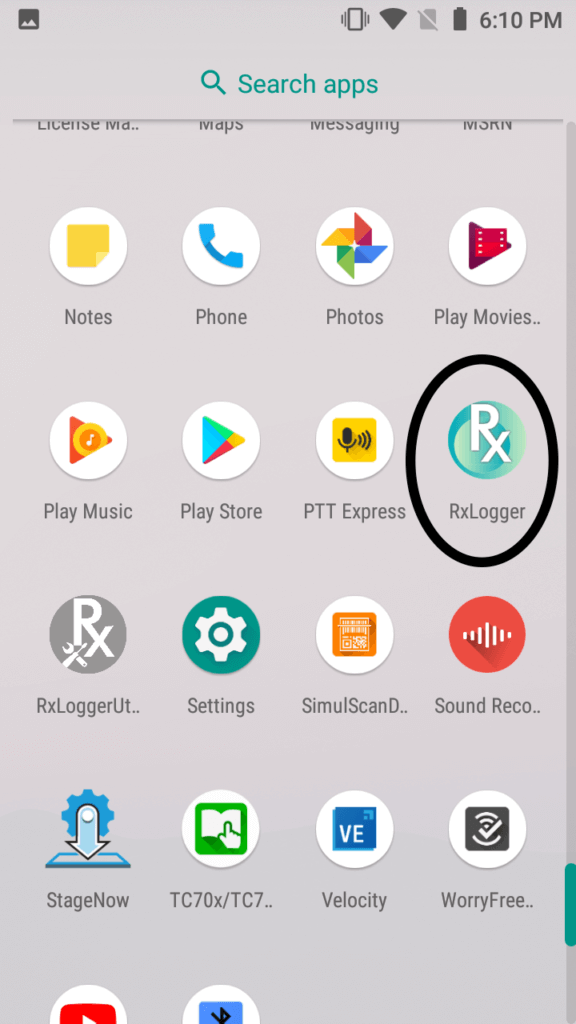
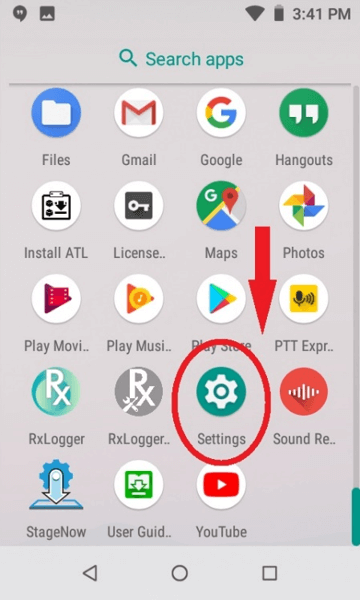
1.) Open RxLogger from the home screen (Light blue-green RxLogger app, NOT grey RxLogger Utilities app)
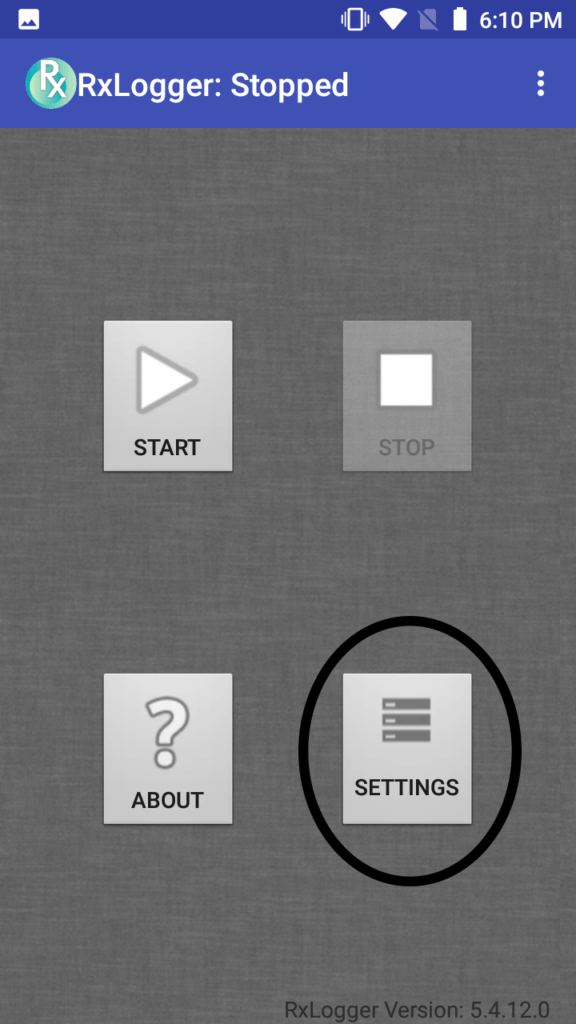
2.) Select Settings
3.) Select TCPDumpModule
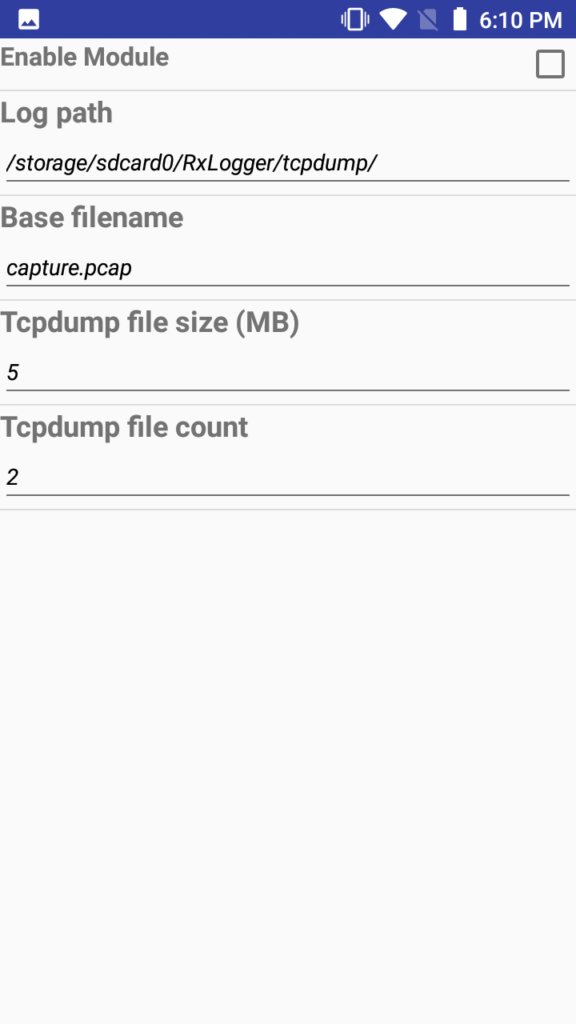
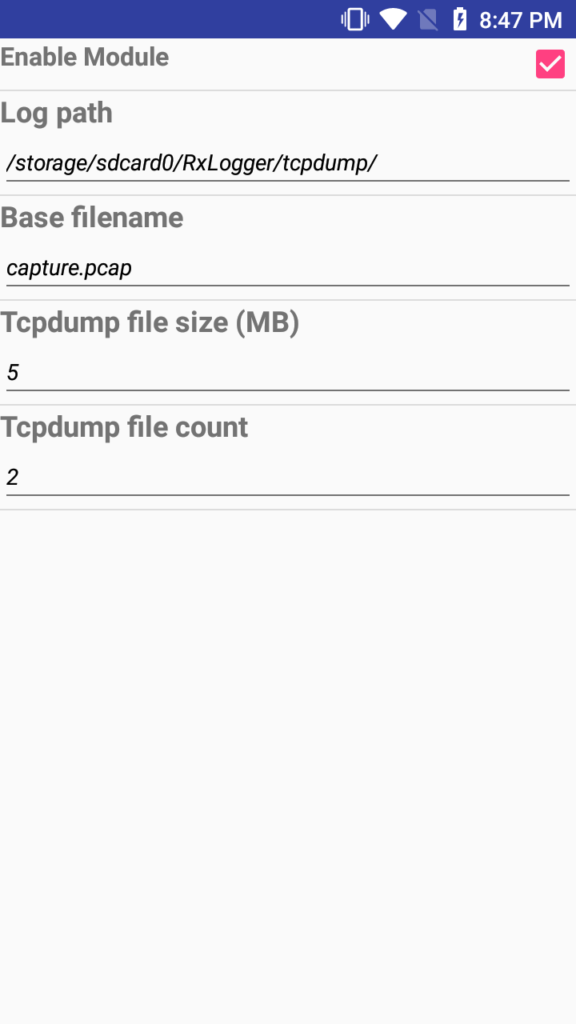
4.) Tap in the checkbox to Enable Module
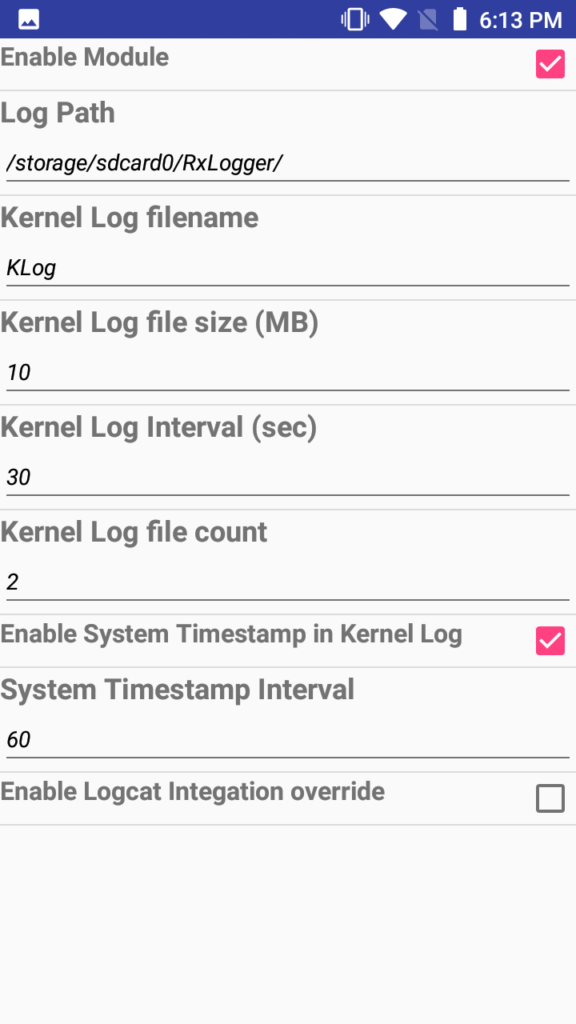
5.) Go back a screen and select KernelModule
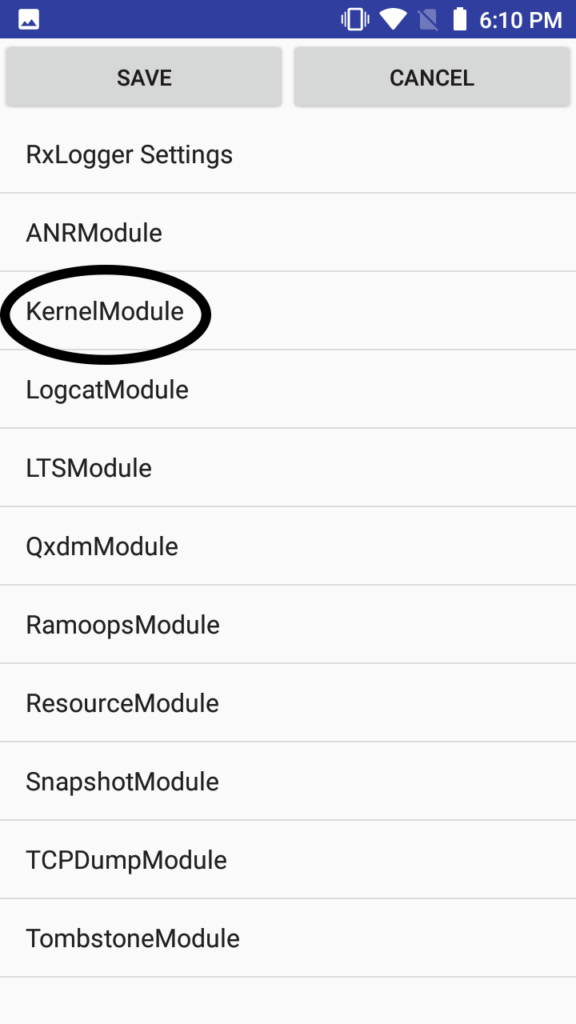
6.) Tap in the checkbox to Enable Module
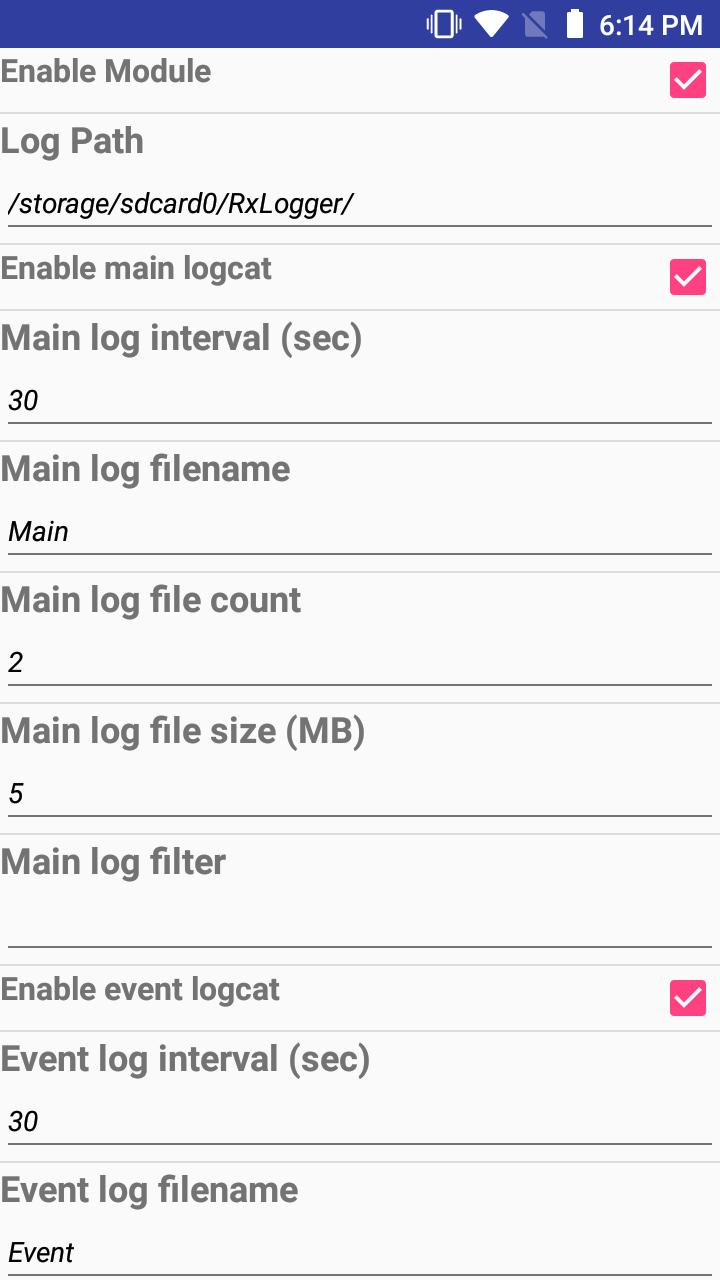
7.) Go back a screen and select LogCatModule
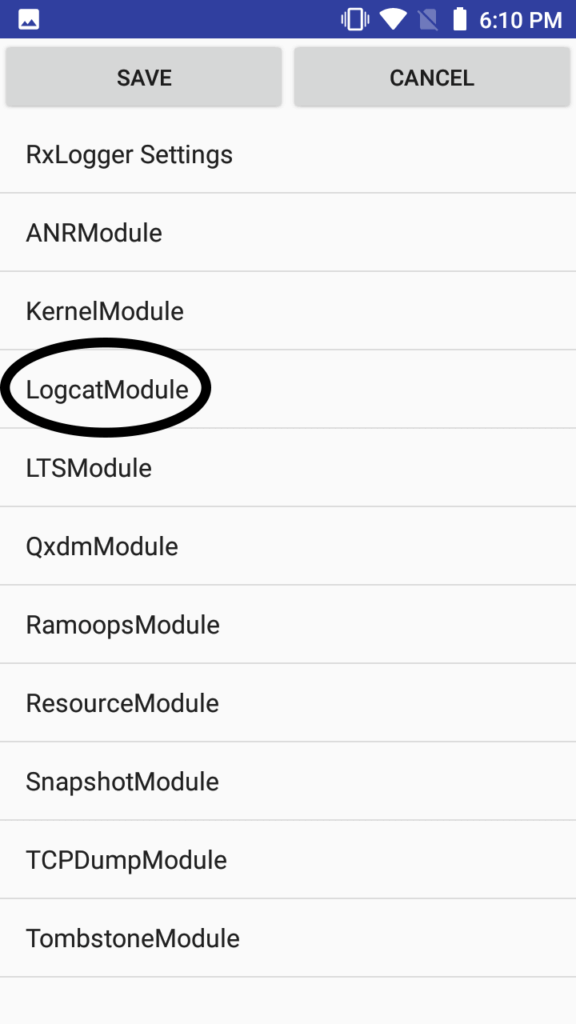
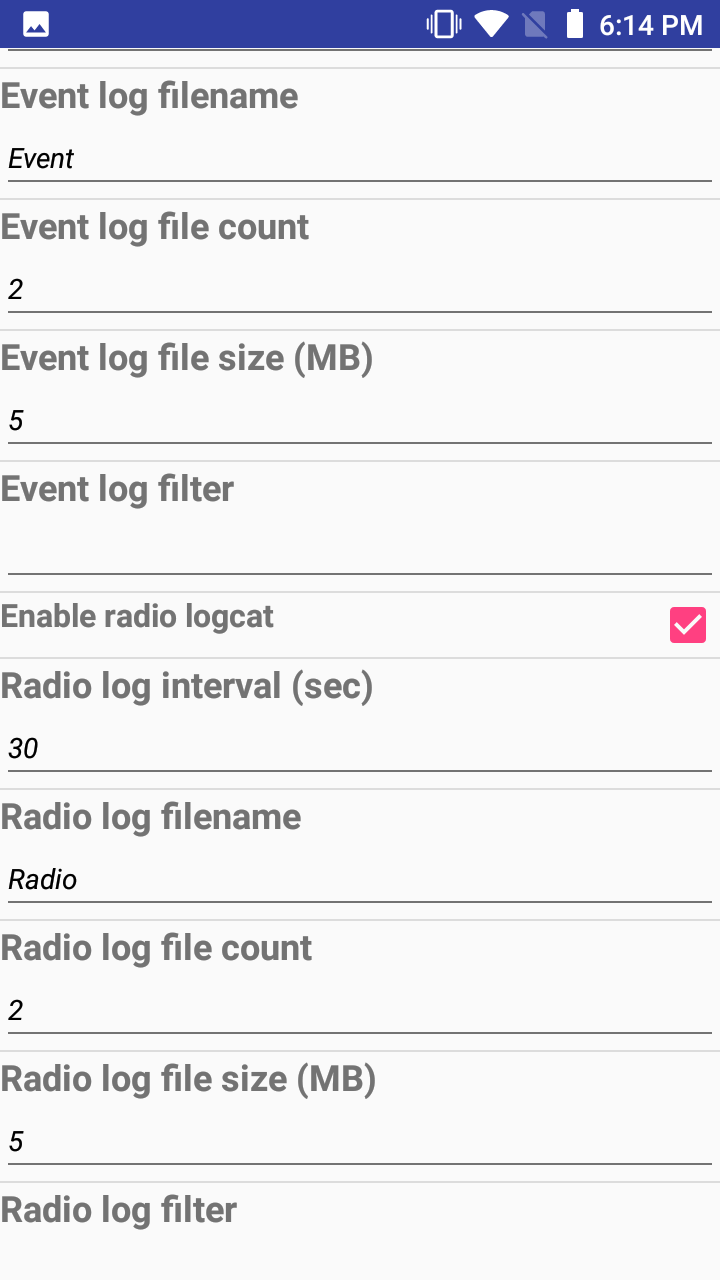
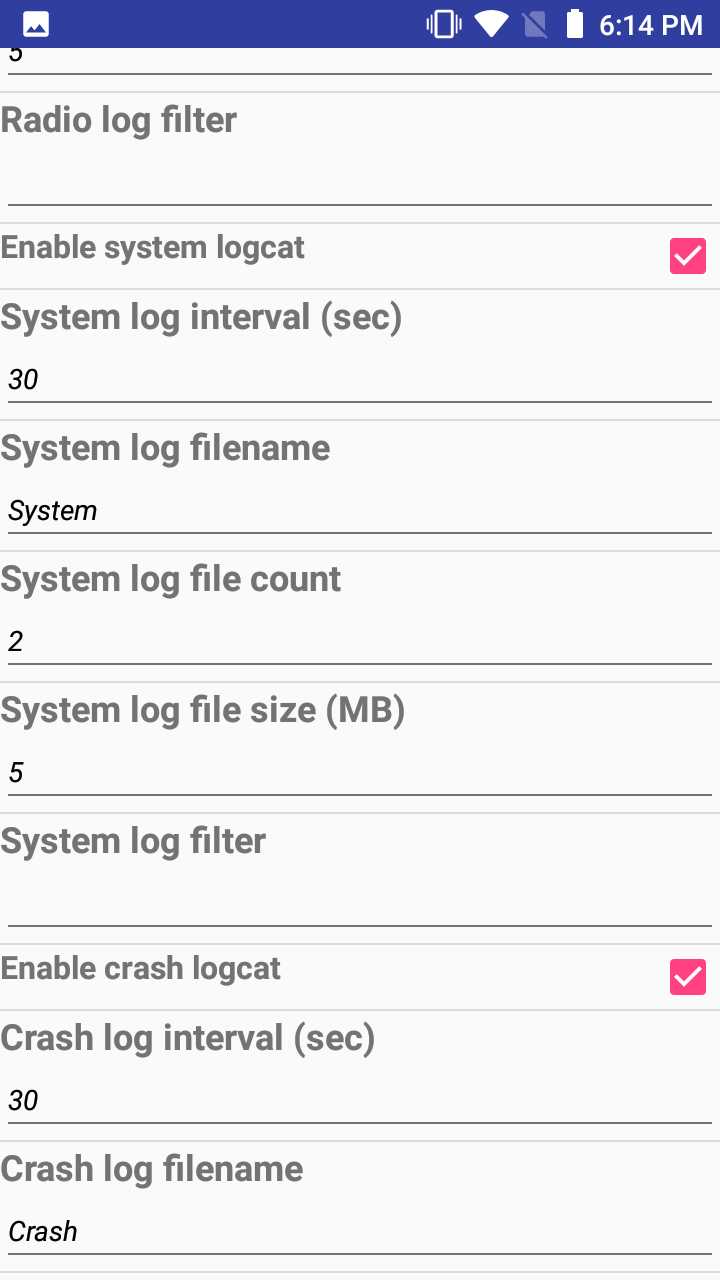
8.) Make sure Enable Module, Enable main logcat, Enable radio logcat, and Enable system logcat are ALL checked
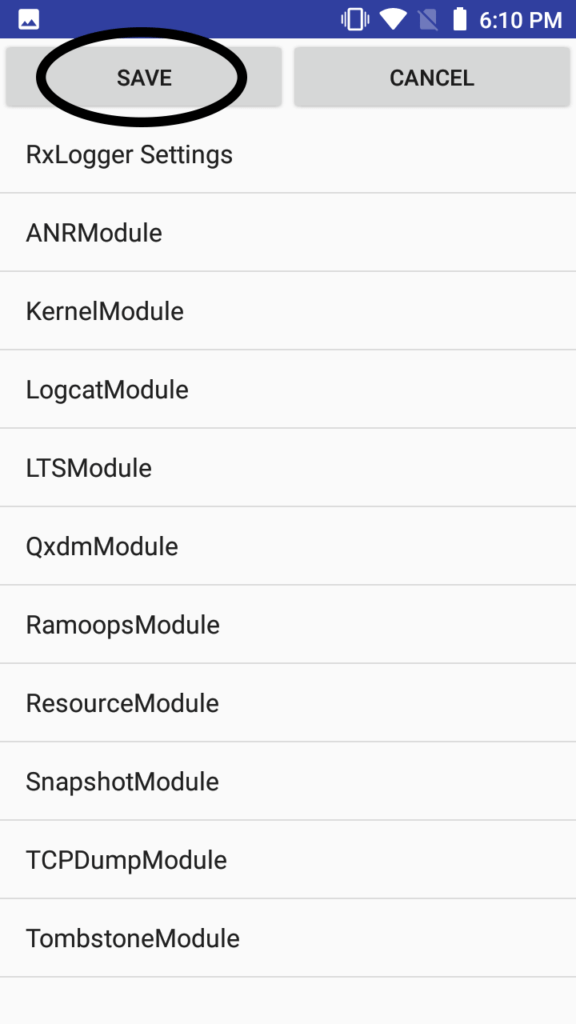
9.) Go back a screen and select Save
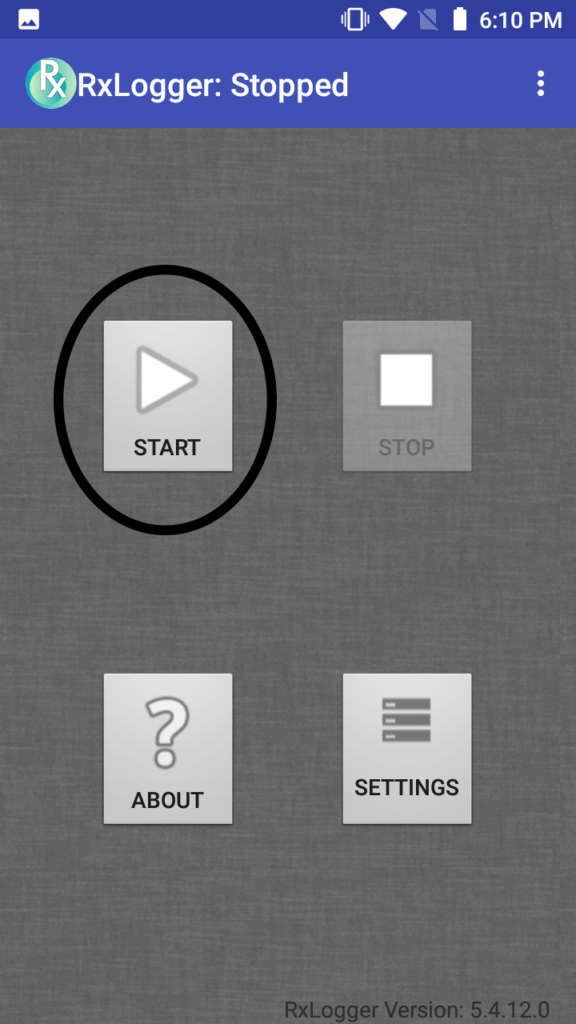
10.) Press Start to begin capturing logs
11.) Duplicate the condition then disable logging by pressing STOP in RxLogger
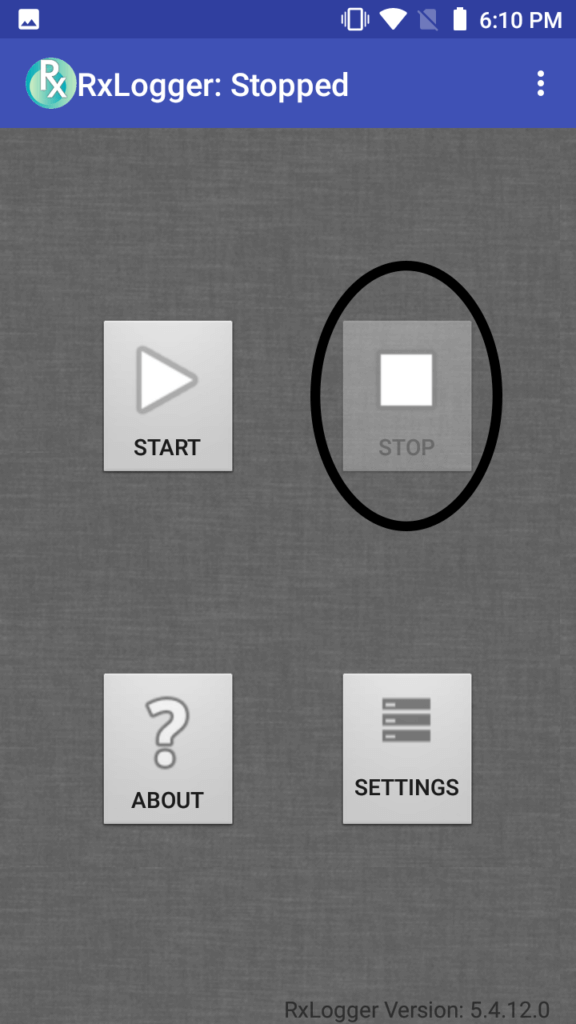
12.) Go to RxLogger folder to pull the logs (copy and paste files in folder)
Fusion Files
Below are two examples of capturing Advanced Fusion logs from Android Oreo and KitKat. The menus are subject to change with each Android release.
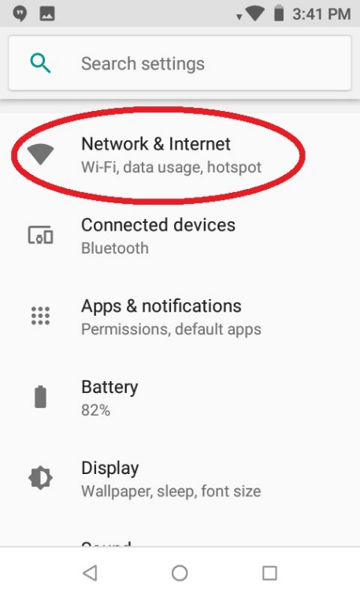
- Navigate to Settings
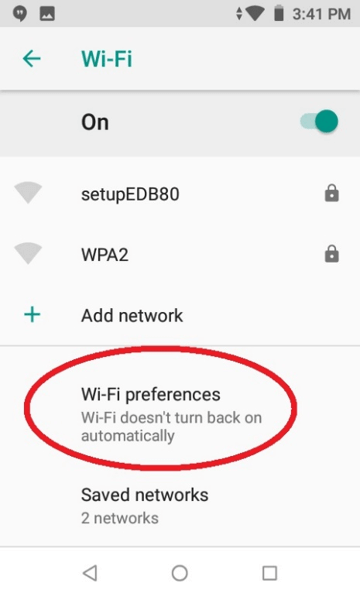
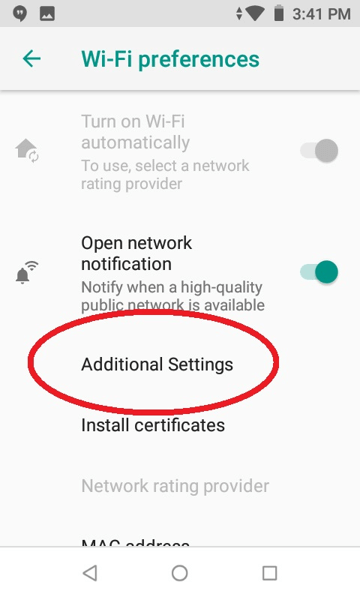
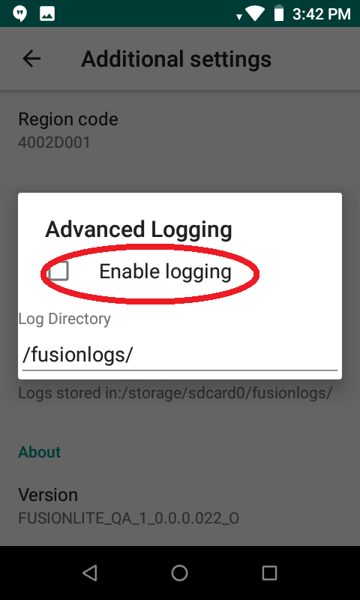
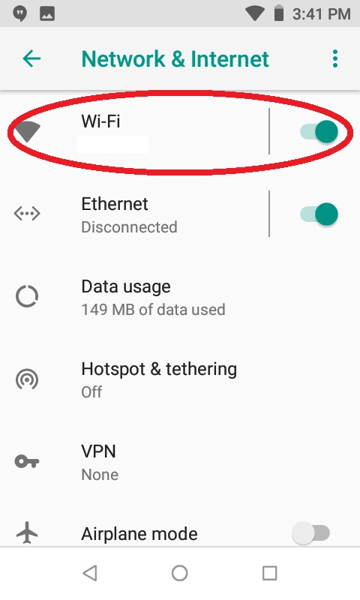
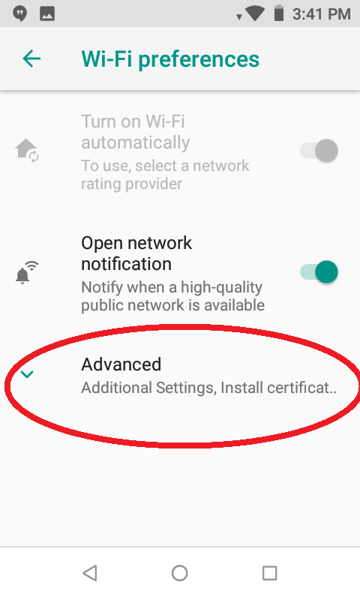
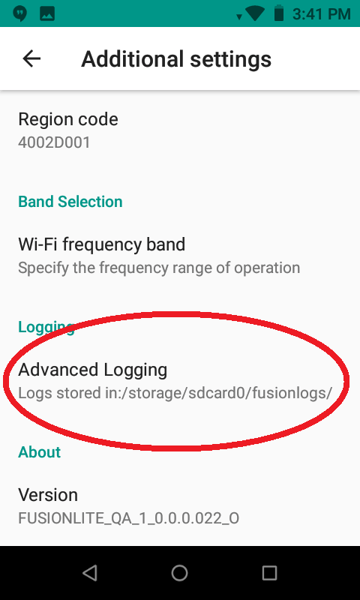
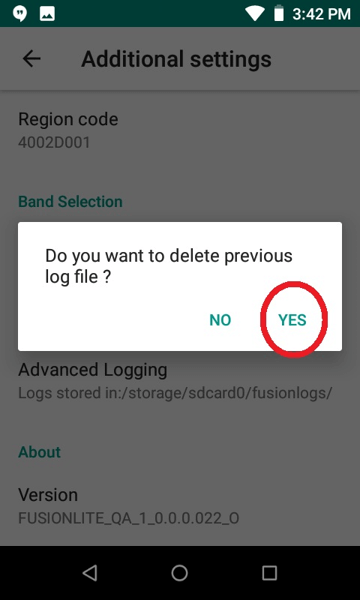
- For Android Oreo, navigate to Network & Internet > Wi-Fi. Then while in the Wi-Fi page, scroll to the bottom and navigate to Wi-Fi Preferences > Advanced > Additional Settings then scroll down to Advanced Logging. Tap this and select the Enable Logging checkbox.
- For some earlier versions of Android. Navigate to Settings > Wi-Fi. You will see a “hamburger menu” (3 stacked lines) on the page. Touch it to open a pop-up menu.
- Select Advanced in the pop-up menu and touch Advanced Logging in the additional settings page. Enable Logging.
- By default, logs will be stored under /storage/sdcard0/fusionlogs. Once testing is over, logs can be collected from this location or whichever you configure.
- Once the conditions have been reproduced or testing has ended, disable logging by following steps 1-4 to disable Advanced Fusion logging.
For Windows Devices
- Windows Mobile: Navigate to Wi-Fi on the main screen. Tap Fusion on the bottom right.
- Windows Compact Embedded: Tap the Fusion logo on the bottom right (blue chip with either red X or green bars).
- Navigate to Wireless Status > Wireless Log. Clear the old logs.
- Navigate back to the Fusion main menu. Turn the Wi-Fi radio off, then on.
- Navigate to Wireless Status > Wireless Log.
- Tap Save in the upper left corner.
- Specify a file path, then tap OK.
Best practice recommendations
- Clear the old logs and start new logging each time before starting the test. Once the testing is completed stop logging and collect the logs.
- Note the time of failure.
- Make sure all the logs are captured during the time of failure before archiving them.
- Organize the logs in an understandable structure. E.g. Each test should have one folder each, and all the logs pertaining to that test should be placed under that folder along with notes about the time of failure, MAC address of the device used.
- When finished logging, BE SURE TO TURN OFF LOGGING. These utilities capture a lot of data and can cause the device memory to fill up quickly.